Last updated October 31, 2026
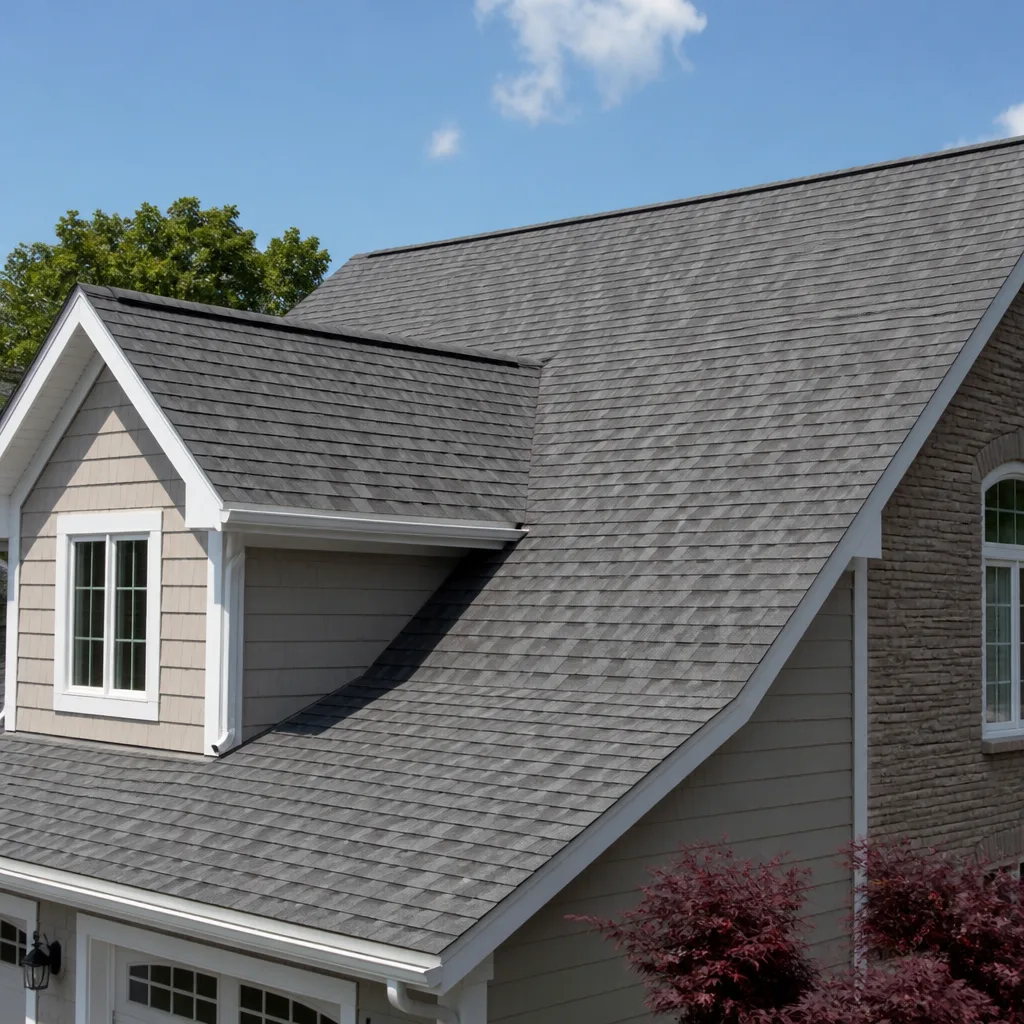
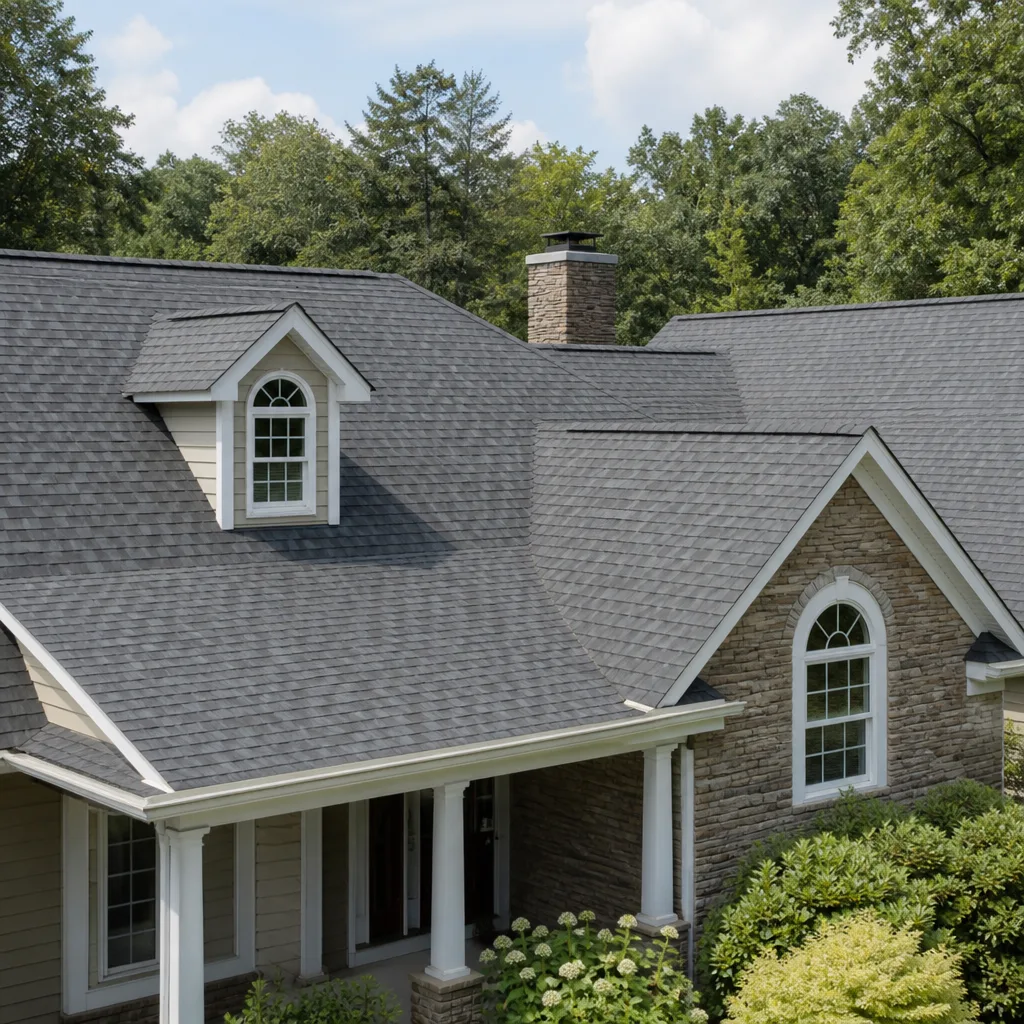 Architectural shingles
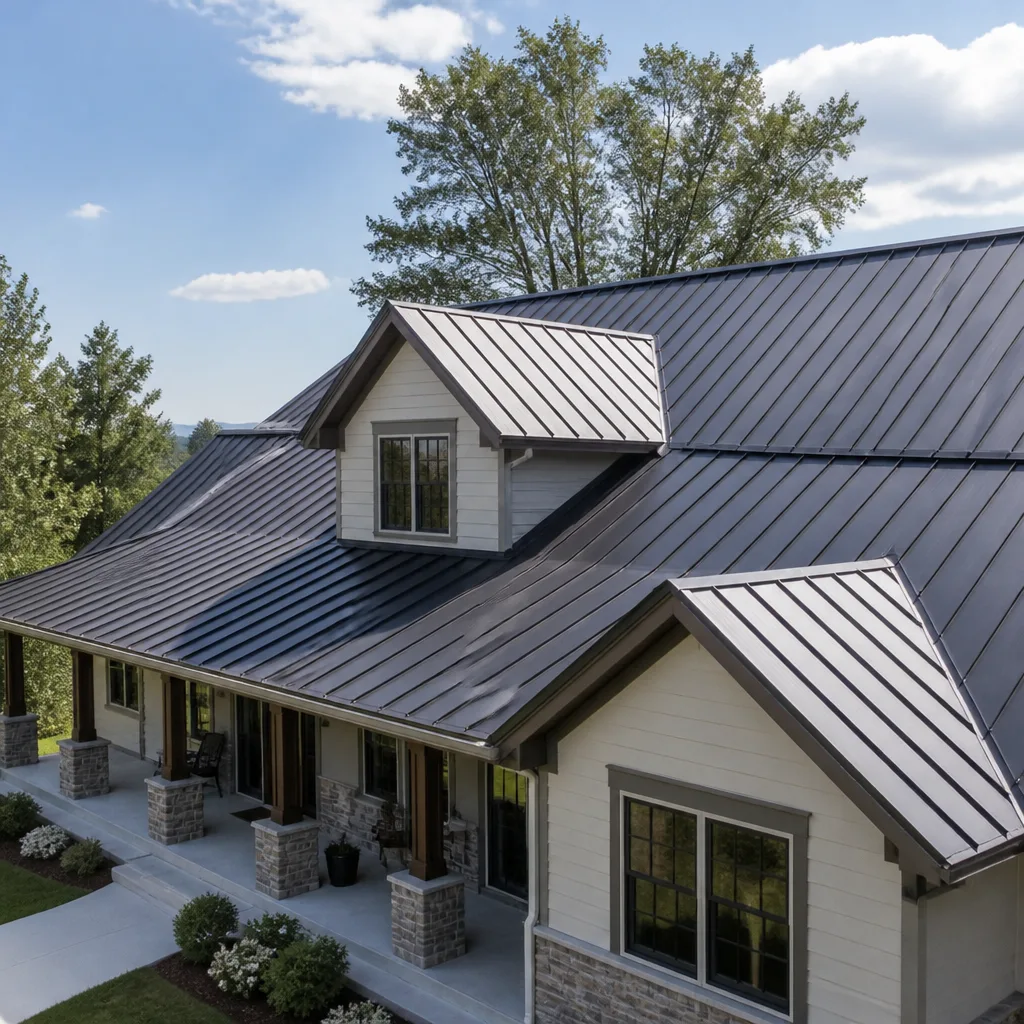 Metal roofing
 Tile roofing
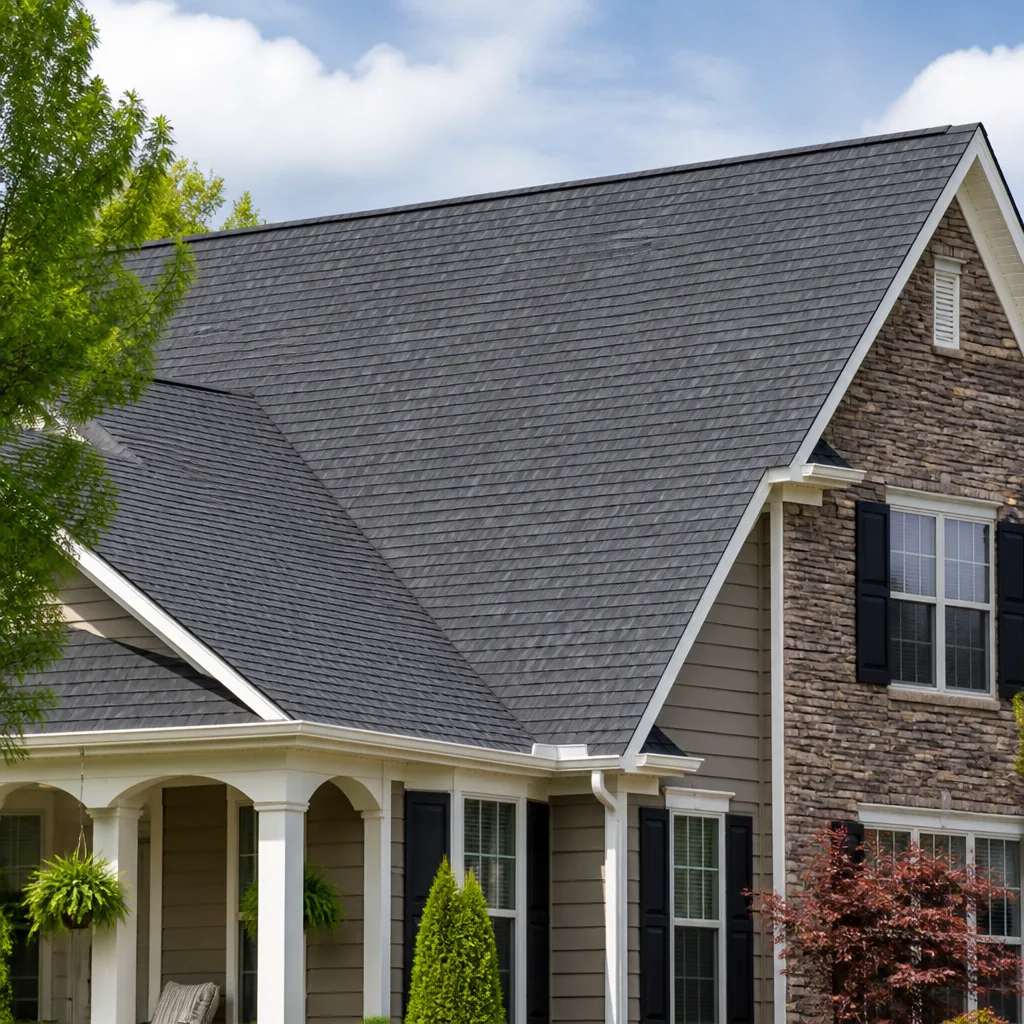 GAF
 Owens Corning
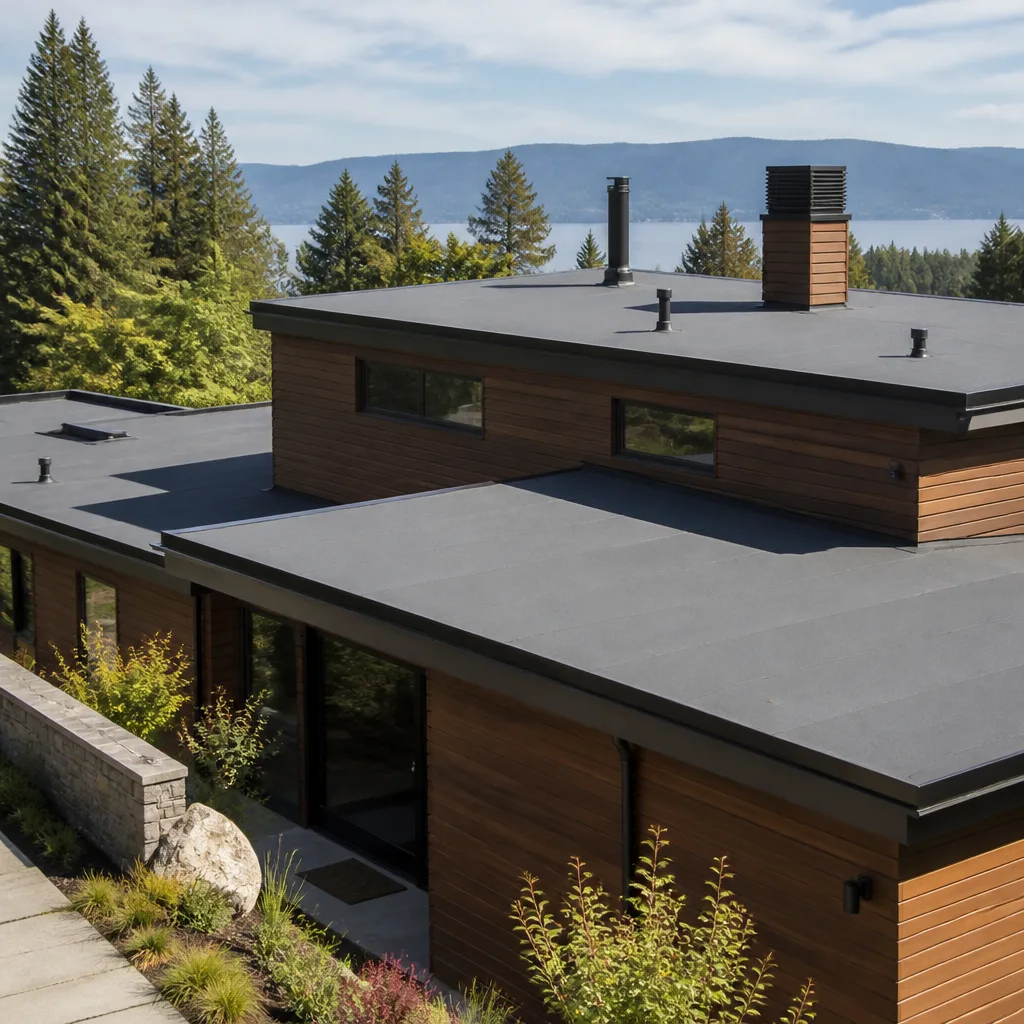 Flat & low-slope
Free roof inspection with deck photos before we talk money - GAF and Owens Corning certified installation
Roof Repair Troubleshooting: Common Problems and How to Fix Them
A water stain on your ceiling directly below a skylight is rarely a skylight problem. In most cases, it’s a flashing failure 18 inches away that gravity and wind are routing toward the easiest exit point. Fixing the wrong spot wastes money and leaves the real leak open. This guide maps the visible symptom back to the actual root cause, drawing on the repair patterns our crews encounter across Buena Park and the surrounding Orange County area. You’ll learn which problems are DIY-safe to diagnose, which ones demand a trained roofer, and how to avoid paying for the same repair twice.
Styles & brands we work with
Quick Answer
Roof repair troubleshooting starts with one rule: the symptom you can see is almost never the actual problem. A ceiling stain points to a leak that may originate several feet away, a lifted shingle often signals a ventilation failure underneath, and granule loss in a gutter can mean normal aging, impact damage, or a manufacturing defect, each with a different fix and warranty path. Diagnose the source before touching the symptom, and when a repair involves flashing, structural decking, or anything requiring you to leave the ladder, call a residential roofing specialist for Roof Repair services.
Table of Contents
- The Symptom-to-Source Diagnostic Map
- Granule Loss: Normal Aging vs. Impact Damage vs. Defect
- The Three Flashing Zones That Fail Most Often
- Lifted and Curling Shingles: When Ventilation Is the Culprit
- DIY-Safe Troubleshooting vs. When to Stay Off the Roof
- Roof Age and Material Matching: What Gets Overlooked
- Why an Inspection Before a Repair Saves Money
- Common Mistakes to Avoid
- When to Call a Professional
- Frequently Asked Questions
- The Bottom Line
The Symptom-to-Source Diagnostic Map
Most homeowners troubleshoot roofs backwards. They see a water stain, assume the problem is directly above that stain, and patch the wrong zone. The result? The same stain comes back after the next rain, the homeowner feels cheated, and the real leak has had another season to rot decking and soak insulation.
Water moves along roof sheathing, rafters, and the underside of underlayment before it drops. A stain on a Buena Park living room ceiling often traces back to a plumbing boot or a valley flashing three to six feet upslope. Gravity carries the water down, but wind, surface tension, and the slope of the deck actually determine where it finally releases.
Here’s the diagnostic map we use when someone in Buena Park calls us about a ceiling stain, cross-referenced with the roof zones that usually cause it:
- Stain near an exterior wall – Check the wall flashing and step flashing first. Water often enters at the roof-to-wall intersection and travels along the top plate before soaking through.
- Stain in the center of a room – Check plumbing vents, attic vents, and any penetration in that general roof slope. Not the exact spot, the general slope.
- Stain below a skylight or chimney – Check the uphill flashing of the skylight or chimney, not the skylight unit itself. Flashing failures account for the majority of skylight-related leaks we see.
- Stain in a corner where two roof planes meet – Check the valley flashing. Debris buildup in Buena Park’s dry, windy conditions can lift valley metal over time.
- Stain that appears only after heavy rain with wind – This points to a flashing or shingle edge issue on the windward slope. Wind-driven rain enters where gravity-driven rain cannot.
If you have a ceiling stain and want a professional diagnosis, our Roof Inspection in Buena Park service gives you a condition report without any commitment to repair. That’s the repair-first approach: know what you’re dealing with before anyone quotes you a scope.
Granule Loss: Normal Aging vs. Impact Damage vs. Defect
Granules in your gutters can mean three entirely different things. A roofer who treats all granule loss the same way is either guessing or selling.
Normal aging. Asphalt shingles shed granules slowly throughout their life. A roof that’s 15 to 20 years old in Buena Park’s hot, dry summers will show granules in the gutter after every rain. This is expected. The granules protect the asphalt from UV degradation, and once they’re mostly gone, the shingle dries out, cracks, and eventually fails. The fix at this stage is planning for replacement, not patching individual shingles.
Impact damage. Hail, a fallen branch, or a stray baseball creates a distinct pattern: a concentrated, localized loss of granules with visible asphalt exposed in a specific impact spot. You may see circular or starburst patterns. The damage will be isolated to one area of the roof, not evenly distributed. If your insurance policy covers impact damage, this is a claim. If you don’t address it, the damaged shingles will fail prematurely even though the rest of the roof is fine.
Manufacturing defect. This is rarer but real. Some shingle batches leave the factory with poor granule adhesion. The pattern here is uniform granule loss across an entire section or the whole roof, often appearing within the first few years. It looks like premature aging but on a compressed timeline. This may be a warranty issue. The catch: you need documentation of the original purchase, and many manufacturer warranties are prorated and require the defect to be confirmed by an authorized representative.
Here’s how to tell the difference from ground level:
- Look at the gutter downspout splash zone. Even distribution suggests normal aging. Concentrated deposits below one roof slope suggest a problem on that slope.
- Look at the shingle surface with binoculars. Uniform thinning across the whole roof points to age or defect. Bald spots in specific locations point to impact.
- Note the roof’s age. Granule loss at year 18 is normal. Granule loss at year 4 is not.
- Check if the affected shingles correspond to roof areas under tree branches or beneath a known hail path.
Why this matters for repair decisions: replacing a dozen impact-damaged shingles on an otherwise healthy roof is a smart repair. Replacing a dozen shingles on a 22-year-old roof where aging caused the granule loss is a waste of money if the whole roof is nearing replacement. And if you have a genuine manufacturing defect, slapping a repair on it voids the possibility of a warranty-backed replacement.
The Three Flashing Zones That Fail Most Often
Flashing is the metal material that seals roof transitions: where shingles meet a wall, a chimney, a skylight, or a valley. Here’s the pattern we see in Buena Park: the shingles will still have years of life left, but the flashing has failed, and water is entering through the transition.
1. Step flashing at roof-to-wall intersections. Step flashing is the series of L-shaped metal pieces woven between shingles and the side wall. It fails when the metal corrodes, when nails back out, or when the wall siding or stucco shifts. The result is water running behind the wall surface and showing up inside as stains along the ceiling near an exterior wall.
2. Chimney and skylight flashing. This includes base flashing, counter flashing, and the apron or cricket on the uphill side. The failure point is usually where caulk or roof cement was used as a substitute for proper metal overlap. Caulk degrades under UV exposure. In Buena Park, where summer roof surface temperatures regularly exceed 140 degrees, a caulk-only flashing repair has a predictable lifespan of 12 to 24 months before the same leak returns.
3. Valley flashing. Valleys channel a lot of water. Debris accumulates there, especially in Buena Park’s dry season when leaves and pine needles sit in the valley for months before the first rain. The weight and moisture can corrode valley metal or cause it to lift at the edges.
The honest repair for these zones is metal-to-metal or metal-to-membrane replacement, not caulk. We’ve rebuilt flashing zones on roofs where a previous contractor caulked the leak three times over five years. The homeowner paid for the same repair repeatedly because the underlying flashing was never addressed. A proper flashing replacement might cost more once, but it ends the cycle.
Lifted and Curling Shingles: When Ventilation Is the Culprit
A shingle that is lifting at the edges or curling at the corners is often blamed on shingle quality. In many cases, the shingle is the victim, not the problem.
Attic ventilation regulates heat and moisture. When a roof has inadequate intake vents, inadequate exhaust vents, or both, heat builds up in the attic. That heat radiates through the roof deck and bakes the shingles from underneath. The asphalt dries out prematurely, the shingle loses flexibility, and the edges curl or lift. You can replace every curled shingle on the roof, but if the ventilation isn’t corrected, the new shingles will curl the same way within a few seasons.
Here are the signs that ventilation, not shingle quality, is causing the problem:
- Curling or lifting is widespread across multiple slopes, not isolated to one area.
- The roof is less than 10 years old but shows advanced aging.
- Your attic is noticeably hot in summer, even late in the evening.
- You see moisture or frost in the attic during winter.
- Your cooling bills are high relative to neighboring homes of similar size.
If the shingles on a Buena Park home are curling at year 7 or 8, the roof itself may still be repairable, but the ventilation needs to be corrected first. That may involve adding ridge vents, improving soffit intake, or balancing the attic airflow. Replacing the shingles without addressing the ventilation recreates the same failure. This is one of the most common reasons a second repair gets called on a roof that should have been fixed the first time.
Certain brands hold up differently under heat stress. In our experience with high-temperature Southern California roofs, properly installed shingles from brands like CertainTeed and Tamko handle extended UV exposure well. But no shingle survives a poorly ventilated attic. The material choice matters only after the ventilation is corrected.
DIY-Safe Troubleshooting vs. When to Stay Off the Roof
Some roof troubleshooting can be done safely from the ground or from inside the attic. Some should never be attempted without training and fall protection.
DIY-safe from the ground:
- Using binoculars to inspect shingle condition, flashing, and visible penetrations.
- Checking gutters for granule accumulation patterns.
- Photographing visible damage after a storm for insurance documentation.
- Looking for shingle debris in the yard after high wind events.
DIY-safe from inside the attic:
- Looking for daylight visible through the roof deck.
- Checking for water stains on sheathing or rafters.
- Feeling for damp insulation after a rain.
- Confirming attic ventilation is functioning (check for air movement at intake and exhaust points).
Do not attempt these without training and fall protection:
- Walking on any roof slope steeper than a shallow rise.
- Repairing or replacing flashing around a chimney or skylight.
- Working near a roof edge, valley, or any area where a fall would be consequential.
- Temporary tarping during an active leak. The tarp can become a sail in wind and pull you off the roof.
The physics are straightforward: most residential roofs are 20 to 40 feet above the ground. A fall from that height is life-altering or fatal. The repair cost saved by doing it yourself doesn’t offset that risk. For any roof work above the eave line, the safe move is a professional. The same applies to mechanical repairs on a steep pitch. We’ve replaced roofs in Buena Park where homeowners started a simple repair and discovered the decking was worse than expected once the shingles came off. That’s not a moment to be standing on a ladder.
Roof Age and Material Matching: What Gets Overlooked
Roof age changes every repair decision.
A repair decision that makes sense on a 10-year-old roof is a poor decision on a 25-year-old roof. The base question is whether the rest of the roof has enough remaining service life to justify the repair investment. If the roof is near the end of its useful life and the repair area is in the failing zone, replacement is the honest recommendation. Not because it’s the bigger sale, but because repairing a roof that needs replacement is just delayed spending.
Material matching matters in a way many homeowners don’t see until it’s too late. When a partial repair is done on a composition shingle roof, the replacement shingles need to match the existing roof in color, profile, and weathering. If the roofer installs a different brand or a different product line from the same brand, the patch will be visible. Over time, the color will weather differently and the mismatch becomes more obvious. This is both an aesthetic problem and a warranty problem: mixing brands can void manufacturer coverage on some product lines.
Our approach at Buena Park Roof Repair home is built around material choice. We’re authorized to install and warranty products from GAF, Owens Corning, and Boral, among others. That multi-brand capability means when a homeowner in Buena Park needs a partial repair, we match the existing material rather than forcing whatever we have in stock. The phrase to remember is “choose your material, not ours.” And the related principle: repair when possible, replace when necessary.
If the existing roof is older and you’re not sure whether a repair or a Roof Replacement in Buena Park makes sense, the starting point is the same: a professional inspection that gives you a straight condition report before any numbers are discussed.
Why an Inspection Before a Repair Saves Money
The most expensive roof repair is the one that doesn’t fix the problem. We see this pattern in Buena Park regularly: a homeowner notices a leak, calls a contractor, and gets a patch without a full diagnosis. The patch holds for a season or two, the leak comes back, and the homeowner is now paying for the same problem twice, plus whatever water damage accumulated in the meantime.
A dedicated inspection before any repair scope does three things:
- It maps the actual source. An inspection traces the water path from entry point to exit point. The repair targets the entry point, not the stain.
- It identifies secondary issues. A leak that has been active for months often has hidden decking rot or insulation damage that a surface patch won’t address.
- It gives you a condition report that’s useful even if you do nothing. Knowing the roof’s remaining service life, the condition of flashing zones, and whether ventilation is adequate helps you plan.
This is why our inspection service is standalone. You can get a Roof Inspection in Buena Park with no repair commitment required. We’ll tell you what the roof actually needs. If it’s a repair, we’ll scope the repair. If it’s a replacement, we’ll explain why and show you the material options. No automatic upsell.
Most roofing problems follow predictable patterns. A trained inspector can identify those patterns in a single visit. A homeowner troubleshooting from the ground may spend weeks guessing. The inspection is the shortcut to the correct answer.
Common Mistakes to Avoid
- Caulking a flashing failure. Caulk is a temporary sealant, not a flashing system. In Buena Park’s UV and heat conditions, a caulk-only fix on chimney or skylight flashing fails within 12 to 24 months. The proper fix is metal flashing replacement.
- Assuming the leak is directly above the stain. Water travels along decking and rafters. The actual entry point can be several feet upslope from where the stain appears. Find the source, not the symptom.
- Replacing curled shingles without checking attic ventilation. If ventilation is the underlying issue, the new shingles will curl too. Fix the airflow first, then address the shingles.
- Ignoring granule loss in the gutters. Granules in the gutter are a diagnostic signal, not just a mess. Use the distribution pattern to determine if you’re dealing with aging, impact damage, or a defect.
- Getting on the roof without training or fall protection. Most residential roof falls happen during quick, unplanned repairs by homeowners. The risk isn’t justified by the money saved.
- Accepting a patch without a diagnosis. A contractor who doesn’t explain the source of the problem before quoting a fix is guessing. Require a clear explanation of what’s failing and why.
- Mixing shingle brands on a partial repair without considering the match. A visible patch affects long-term appearance and can void warranty coverage. Match the manufacturer and product line when possible.
When to Call a Professional
Call a roofing professional when the problem involves flashing repair, decking damage, multiple shingle failures, any leak that has been active for more than one rain season, or anything that requires you to work above the eave line. Also call if you see widespread granule loss, curling, or lifting across the roof and suspect a systemic issue rather than an isolated one. A professional can identify ventilation problems, trace water paths, and give you an honest scope before any repair work begins. For Roofing Emergency Preparedness Guide for Buena Park Homes and other topics, see our blog. If you’re in Buena Park and want a straight answer without a sales pitch, Buena Park Roof Repair offers free estimates in Buena Park – call (866) 282-5070.
Frequently Asked Questions
Roof repair in Buena Park typically ranges from $350 to $900 for minor fixes like a few shingles or a small flashing patch, up to $1,500 to $3,500 for more involved repairs like valley flashing replacement or significant decking work. Every roof is different, so an exact quote requires looking at the roof. Call (866) 282-5070 for a free estimate specific to your situation.
You can diagnose a roof leak yourself if you stay on the ground or in the attic and only observe. You should not attempt to repair flashing, replace shingles on a slope, or work near a roof edge without training and fall protection. The risk of a fall is not worth the money saved.
No. Some companies do, but any roofer worth hiring will evaluate repair before proposing replacement. If the roof has life left and the damage is localized, a repair is the honest scope. If the roof is near the end of its life, replacement is the honest recommendation. The key is working with a specialist who will tell you what it actually needs.
The deciding factors are roof age, the extent of damage, the condition of the decking, and whether the underlying issues (like ventilation) can be corrected. A professional inspection is the fastest way to get a definitive answer. A standalone roof inspection gives you a condition report without any commitment to repair.
A properly executed roof repair lasts as long as the remaining life of the surrounding materials. A flashing replacement done correctly should not need to be redone. A caulk-only patch may last 12 to 24 months in Buena Park’s heat. The durability of a repair depends on fixing the actual source, not just the symptom.
We’re authorized to install and warranty products from seven manufacturers, including GAF, CertainTeed, Owens Corning, and Tamko. That breadth matters when matching a partial repair to an existing roof. We’ll match your existing material rather than pushing whatever we have in stock. For a full replacement, you choose the brand that fits your budget and priorities.
The Bottom Line
Roof repair troubleshooting is a discipline, not a checklist. The symptom you see rarely points to the actual source. Ceiling stains trace to flashing failures upslope, curled shingles point to ventilation problems underneath, and granule loss carries a diagnostic pattern that tells you whether you’re facing normal aging, impact damage, or a manufacturing issue. The honest path is diagnosis before repair. If you’re in Buena Park and want a straight answer about what your roof actually needs, Roof Repair in Buena Park starts with a free estimate and an honest scope. Call (866) 282-5070.
Written by the team at Buena Park Roof Repair, serving Buena Park since 2018. Explore more guides & resources on our blog.
See the difference
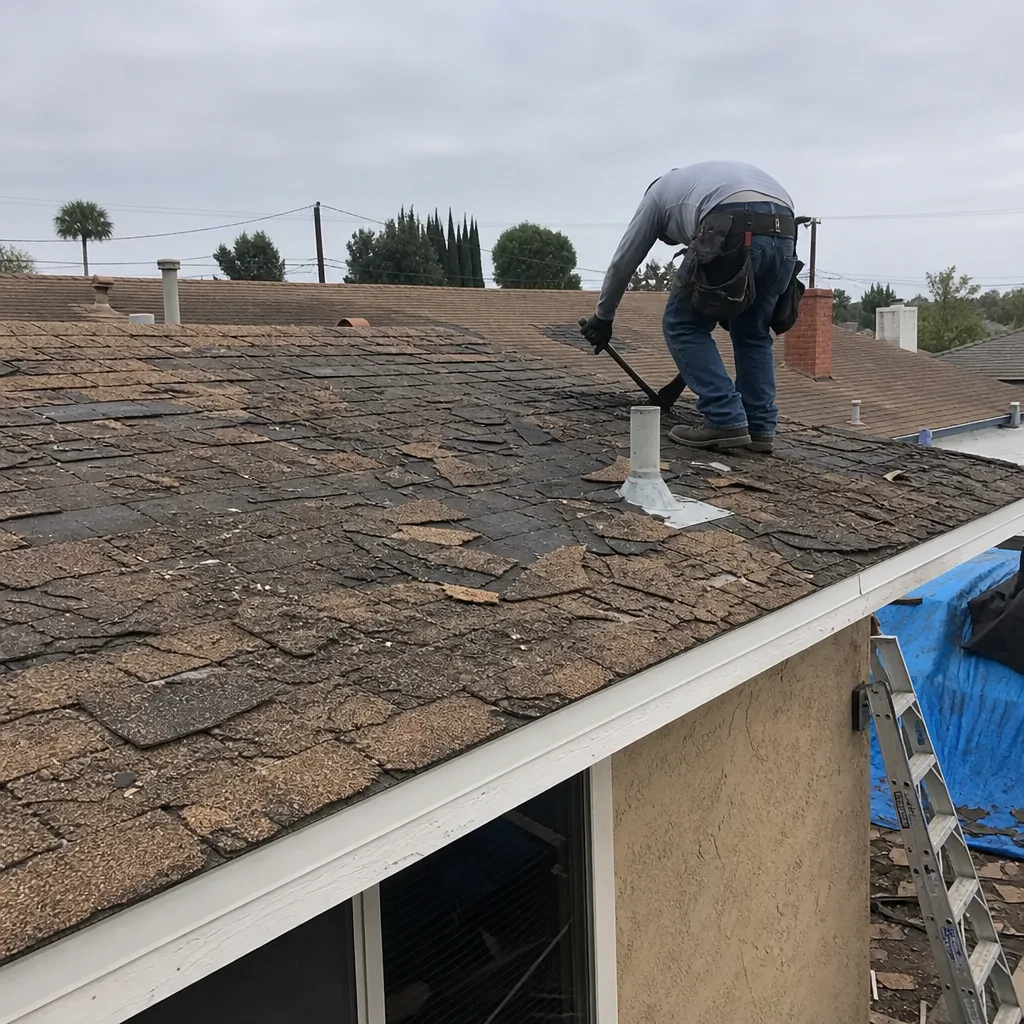 Before
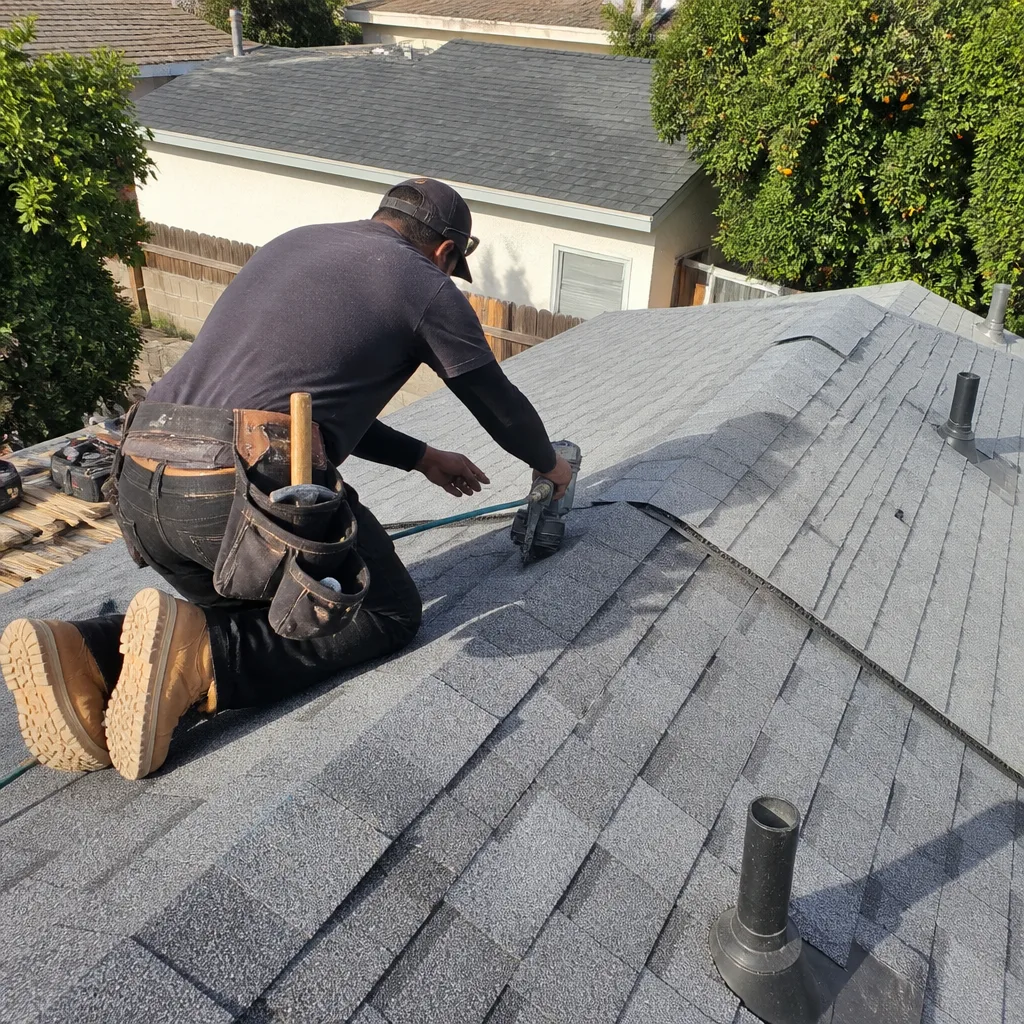 After
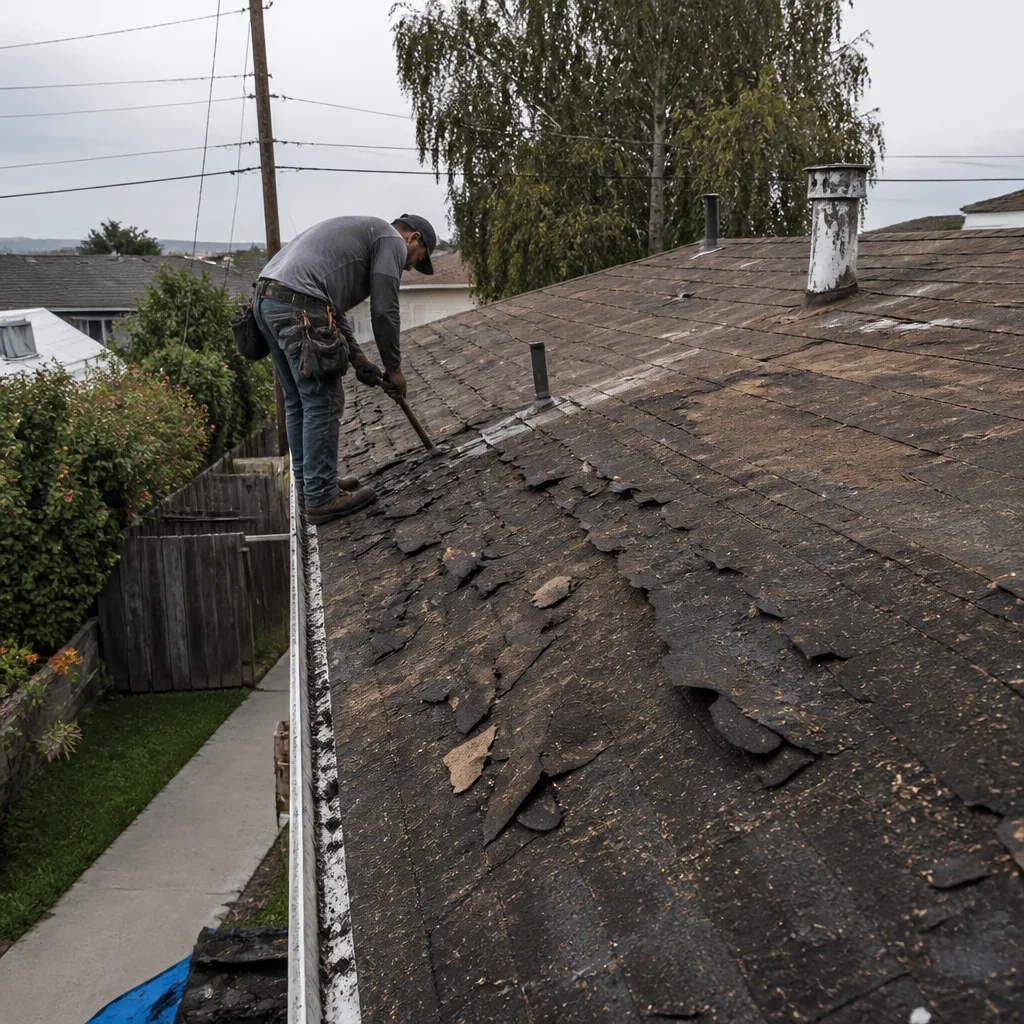 Before
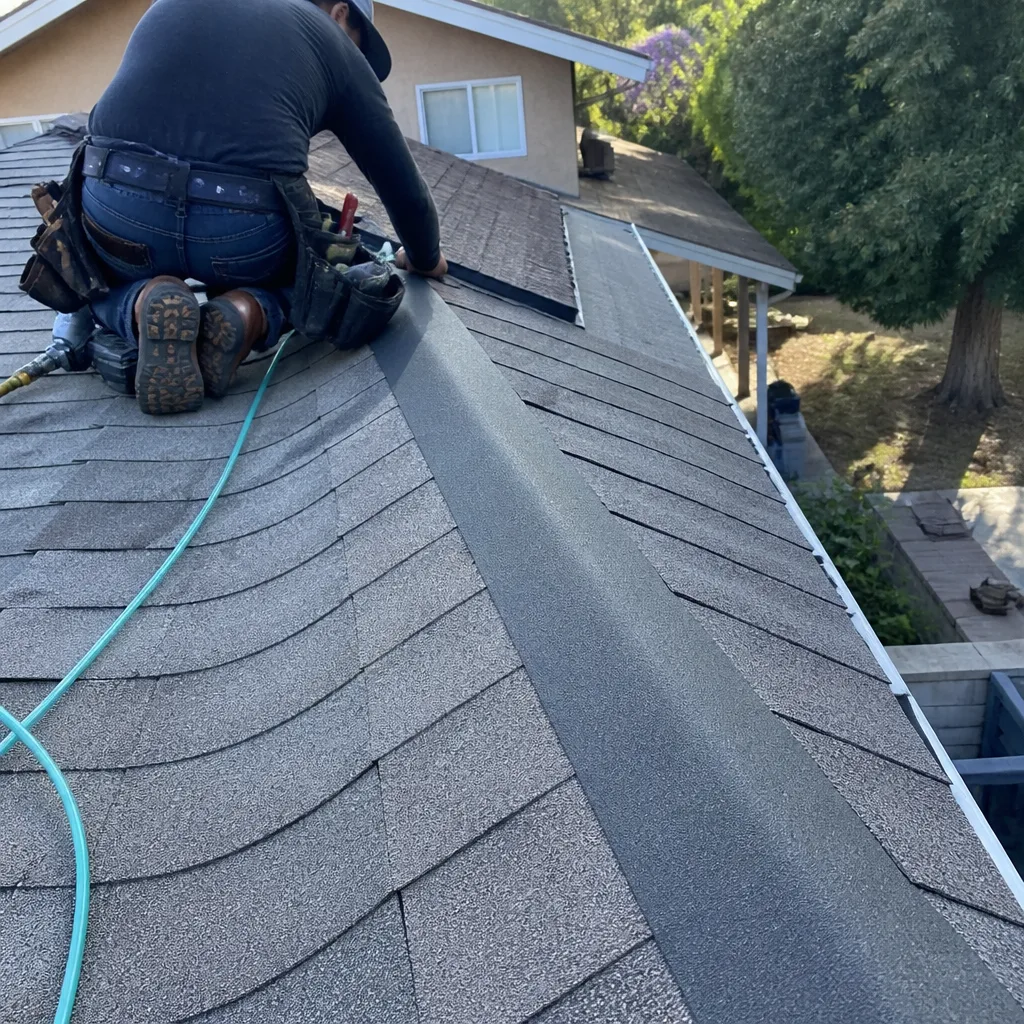 After
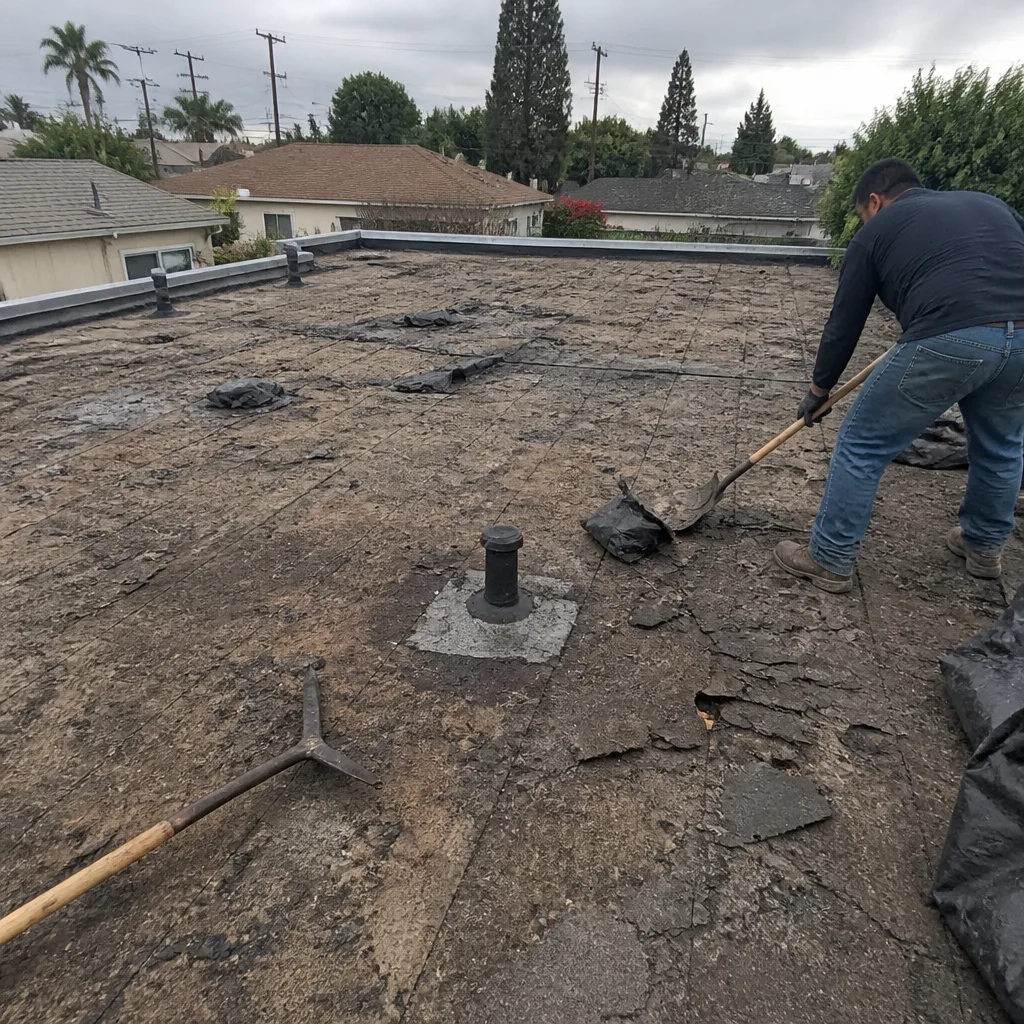 Before
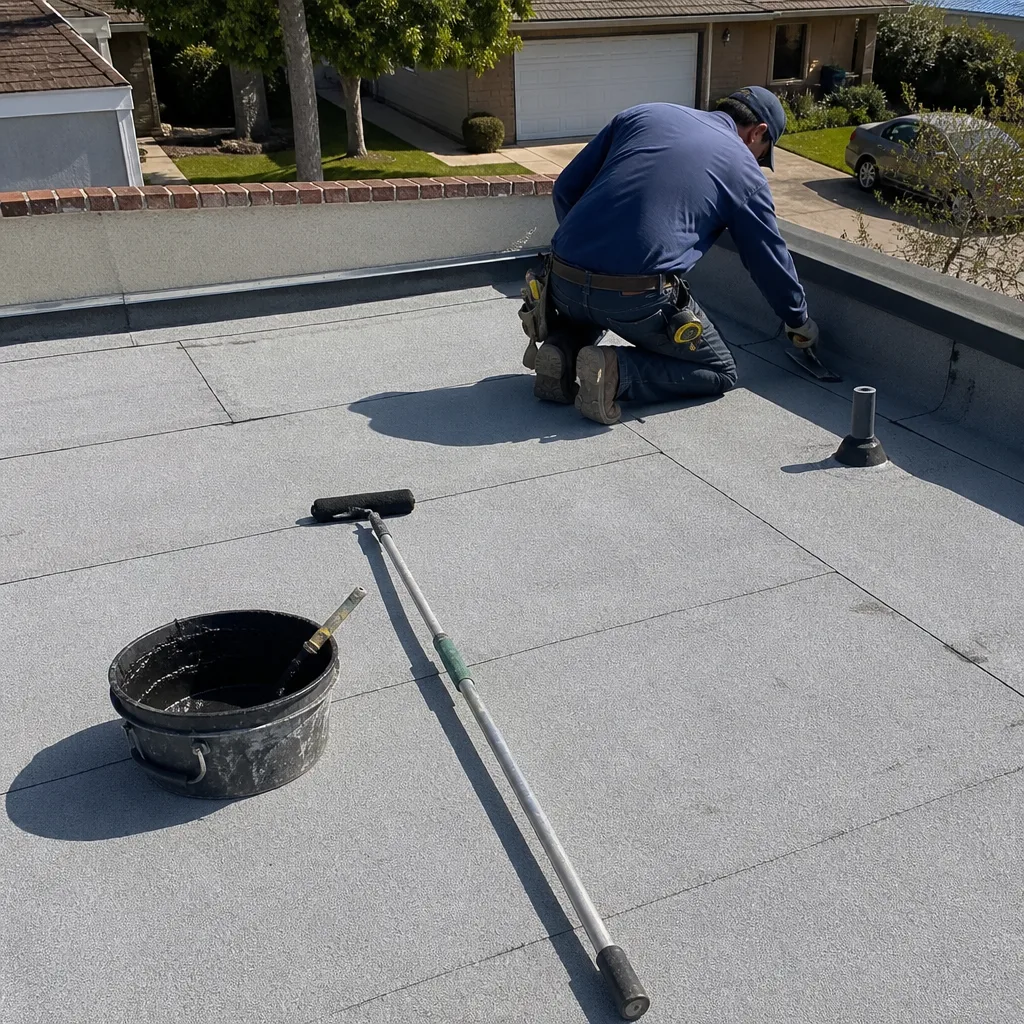 After